PSD 自动生成动画视频
话不多说,先看效果。
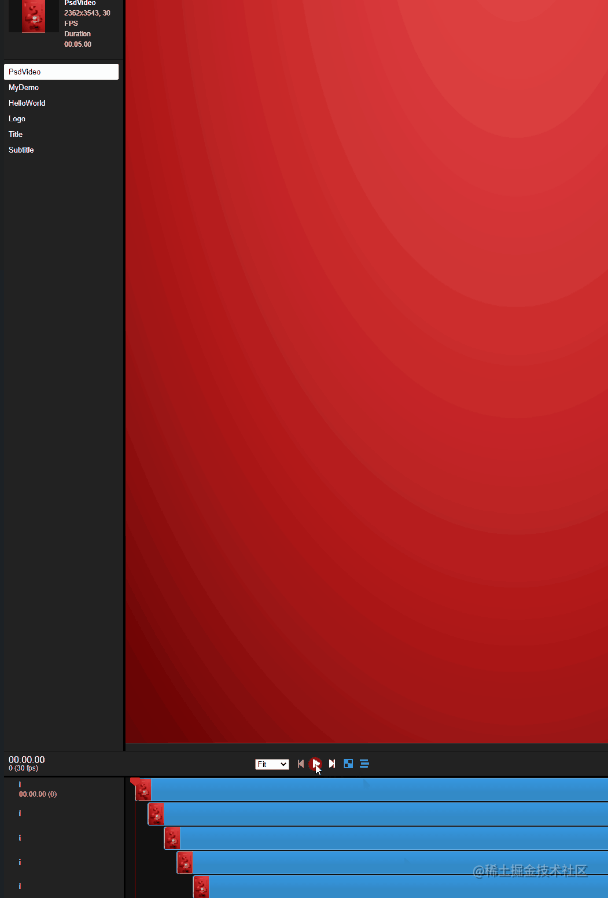
效果1:
效果2:

说明:以上为视频预览,其中的动画效果使用了 animate.css 进行随机生成。
虽然本文代码所实现的视频动画效果非常简单,主要是介绍如何根据一张有层次的 PSD 文件自动生成视频,但这些代码的基石 remotion 项目可不限于此,使用它可以实现非常复杂的视频。
remotion
上面的效果是采用 remotion 进行实现的,这是一个可以让你使用 React 以编程的方式创建视频的开源项目。remotion 宣传片 就是使用 remotion 进行制作的,这是一个相当复杂的视频,通过这个宣传片,足见 remotion 的强大。
remotion 核心概念
remotion 背后的核心概念是,只要提供一个当前帧 currentFrame 和空白的 canvas,就可以使用 React 自由的渲染任何元素。
 1
 2
 3
 4
 5
 6
 7
 8
 9
10
11
|
import { useCurrentFrame } from "remotion";

export const MyVideo = () => {
  const frame = useCurrentFrame();

  return (
    <div style={{ flex: 1, justifyContent: "center", alignItems: "center" }}>
      The current frame is {frame}.
    </div>
  );
};
|
一个视频可以表达为一个随着时间变动的图像函数,根据每一帧改变内容,最终就能产生动画效果。
一个 remotion 视频还有几个核心的属性:width、height、durationInFrames(视频总帧数)、fps。这些属性可以通过 useVideoConfig hook 得到。
 1
 2
 3
 4
 5
 6
 7
 8
 9
10
11
|
import { useVideoConfig } from "remotion";

export const MyVideo = () => {
  const { fps, durationInFrames, width, height } = useVideoConfig();

  return (
    <div style={{ flex: 1, justifyContent: "center", alignItems: "center" }}>
      This video is {durationInFrames / fps} seconds long.
    </div>
  );
};
|
也就是说,定义好视频的宽度、高度、总帧数和帧率(fps),remotion 会在运行时向我们提供 currentFrame,根据当前帧数和视频属性渲染当前状态下的图像即可。
封装 animate.css 动画
跟我们在使用 animate.css 时只需要指定一个动画样式不同,现在渲染图像需要根据三个核心参数 durationInFrames(总帧数)、currentFrame(当前帧)、fps(帧率) 来计算出当前动画位置。如果每次都编码进行计算岂不是很繁琐,因此我们封装一个 Animate 组件 以进行重复利用。
计算逻辑:
1
2
3
4
|
const frame = useCurrentFrame();
const { durationInFrames, fps } = useVideoConfig();
const duration = durationInFrames / fps; // 动画总时长
const delay = (frame / fps) < duration ? (frame / fps) : duration - 0.00001; //动画播放到哪儿了 |
可以看出计算逻辑并不复杂,得出动画播放位置,设置在动画元素的 style 属性上即可。
 1
 2
 3
 4
 5
 6
 7
 8
 9
10
|
<div
	style={{
		animationPlayState: 'paused',
		animationName: animate,
		animationDelay: `-${delay}s`,
		animationDuration: `${duration}s`,
	}}
>
	{children}
</div>
|
完整代码:remotion-animation。
掌握 animate.css 动画的封装就已经完成了一半,接下来我们使用 Java 来解析 psd,并在返回的 psd 元素上设置随机动画效果。
使用 Java 解析 PSD
解析 PSD 的方法有很多,由于作者刚好顺手用 Java 写了 PSD 的解析,所以这里就采用 Java 来介绍,更推荐大家使用 psd.js,这样仅通过前端编码就能实现本文的效果。
解析 PSD 使用了 java-psd-library 开源项目,处理 PSD 的部分代码如下:
 1
 2
 3
 4
 5
 6
 7
 8
 9
10
11
12
13
14
15
16
17
18
19
20
21
22
23
24
25
26
27
28
29
30
31
32
33
34
35
36
37
38
39
40
41
42
43
44
45
46
47
48
49
50
51
52
53
54
55
56
57
58
59
60
61
|
// 保存 PSD 中的图片元素,并返回 PSD 动画配置
private static PsdAnimateConfig processPsd(File inputFile, File outputDir) throws IOException {
    Psd psdFile = new Psd(inputFile);
    outputDir.mkdirs();

    PsdAnimateConfig animateConfig = new PsdAnimateConfig();
    animateConfig.setWidth(psdFile.getWidth());
    animateConfig.setHeight(psdFile.getHeight());
    animateConfig.setLayers(new ArrayList<>());

    int total = psdFile.getLayersCount();
    for (int i = 0; i < total; i++) {
        Layer layer = psdFile.getLayer(i);
        writeLayer(layer, outputDir, 0, animateConfig);
    }

    // 随机选择一个动画(这里把所有支持的动画放到了 txt文件)
    List<String> animates = FileUtil.readLines(ResourceUtils.getFile("classpath:animate.txt"), Charset.defaultCharset()).stream().filter(t -> !t.contains("Out")).collect(Collectors.toList());
    String animate = animates.get(new Random().nextInt(animates.size()));

    int i = 0;
    for (AnimateLayer layer : animateConfig.getLayers()) {
        if (layer.getIndex() > 1) {
            layer.setAnimate(animate);
            layer.setFromMillisecond(i * 150); //设置动画开始时间
            layer.setDurationMillisecond(1500); //设置动画持续时间
            i++;
        }
    }

    return animateConfig;
}

// 保存 PSD 图片元素,并将图片元素加入动画配置
private static void writeLayer(Layer layer, File baseDir, int index, PsdAnimateConfig animateConfig) throws IOException {
    if (layer.getType() == LayerType.FOLDER) {
        for (int i = 0; i < layer.getLayersCount(); i++) {
            Layer subLayer = layer.getLayer(i);
            writeLayer(subLayer, baseDir, index++, animateConfig);
        }
    }
    if (layer.getType() == LayerType.NORMAL) {
        String path = layer.toString();
        File outFile = new File(baseDir, path + ".png");
        outFile.getParentFile().mkdirs();
        if (layer.getImage() != null) {
            if (!outFile.exists()) {
                ImageIO.write(layer.getImage(), "png", outFile);
            }
            AnimateLayer animateLayer = new AnimateLayer();
            animateLayer.setX(layer.getX());
            animateLayer.setY(layer.getY());
            animateLayer.setWidth(layer.getWidth());
            animateLayer.setHeight(layer.getHeight());
            animateLayer.setName(path + ".png");
            animateLayer.setIndex(index);

            animateConfig.getLayers().add(animateLayer);
        }
    }
}
|
代码比较简单,这里就不做讲解了,接下来我们看前端如何根据返回的配置来编写动画。
从 PSD 配置中创建动画视频
在 remotion 组件中可以从接口获取到数据后再继续渲染,我们从 Java 服务端接口中获取配置,根据配置一步步渲染组件。
 1
 2
 3
 4
 5
 6
 7
 8
 9
10
11
12
13
14
15
16
17
18
19
20
21
22
23
24
25
26
27
28
29
30
31
32
33
34
35
36
37
38
39
40
41
42
43
44
45
46
47
48
49
50
51
52
53
54
55
56
57
58
59
60
61
62
63
64
65
66
67
68
69
70
71
72
73
74
75
76
77
78
79
80
81
82
83
84
85
86
87
88
89
90
91
|
import "animate.css";
import {
  continueRender,
  delayRender,
  Sequence,
  useCurrentFrame,
  useVideoConfig,
} from "remotion";
import { Animation } from "remotion-animation";
import { useEffect, useState } from "react";

export const PsdVideo = () => {
  const [data, setData] = useState(null);
  const [handle] = useState(() => delayRender());

  const fetchData = async () => {
    const response = await fetch("http://127.0.0.1:8080/psd/animateConfig");
    const json = await response.json();
    setData(json);
    continueRender(handle);
  };

  useEffect(() => {
    fetchData();
  }, []);

  const videoConfig = useVideoConfig();
  const frame = useCurrentFrame();
  if (data == null) {
    return <div>加载中</div>;
  }

  function getDiv<T>(layer: T) {
    return (
      <div
        style={{
          position: "absolute",
          width: layer.width,
          height: layer.height,
          top: layer.y,
          left: layer.x,
        }}
      >
        <img
          src={"http://127.0.0.1:8080/psd/image?name=" + layer.name}
          width={layer.width}
          height={layer.height}
        />
      </div>
    );
  }

  function getAnimate<T>(layer: T) {
    const duration = layer.durationMillisecond / 1000;
    return (
      <>
        {layer.animate && (
          <Animation duration={duration} animateName={layer.animate}>
            {getDiv(layer)}
          </Animation>
        )}
        {!layer.animate && getDiv(layer)}
      </>
    );
  }

  return (
    <div
      style={{ width: data.width, height: data.height, position: "relative" }}
    >
      {data.layers.map((layer) => {
        const needPlay = layer.durationMillisecond; // 设置了时间的是需要播放的
        return (
          <>
            {needPlay && (
              <Sequence
                from={parseInt(
                  (videoConfig.fps * layer.fromMillisecond) / 1000
                )}
                durationInFrames={Infinity}
              >
                {getAnimate(layer)}
              </Sequence>
            )}
            {!needPlay && getAnimate(layer)}
          </>
        );
      })}
    </div>
  );
};
|
总结
本文代码所实现的视频效果比较简单,但提到了生成动画的核心概念、从服务端获取数据从而动态生成视频等,读者朋友如果感兴趣的话可以试着去创建更复杂的动画并导出成视频哦。